Using Postman with Maskinporten JWT-grants
Postman is a great tool, but it does not support the JWT authorization grants per RFC 7523 required by Maskinporten.
The general process to use Postman towards an API secured with Maskinporten is:
- Use a standalone tool to generate a JWT and exchange it for an access token
- Paste this token into Postman as a bearer token before performing API operations
1. Configure the generator
Download the JWT grant generator from https://github.com/difi/jwt-grant-generator.
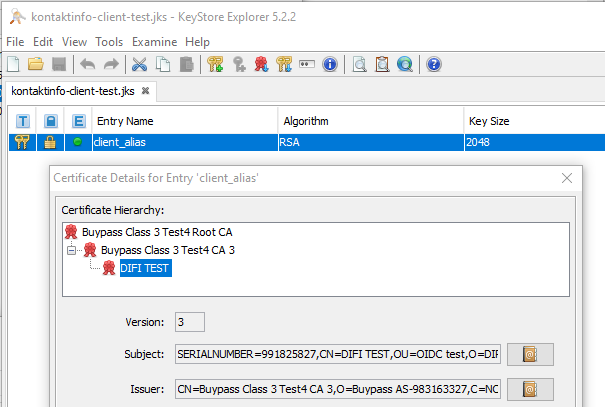
Create a keystore (JKS) holding your business certificate (“virksomhetssertifikat”) keypair. Both the certificate and private key should be included in the JKS. The certificate should be the one use for signing (not non-repuditation). The JKS should look similar to the figure below in Keytool Explorer:
 .
.
Configure the properties file with correct settings, ie passwords to the keystore and private key, your clientid, and the ìdentifier of Maskinporten for the environment you’re using.
Configure the properties file with the scope for the API you want to access (ForDigitaliseringsdirektoratets self-service APIs, the relevant scopes are idporten:dcr.write and idporten:dcr.read for integration management, and idporten:scopes.write for API management).
2. Obtain access token
Run the generator - it will generate a JWT, send it to Maskinporten, and return an access token
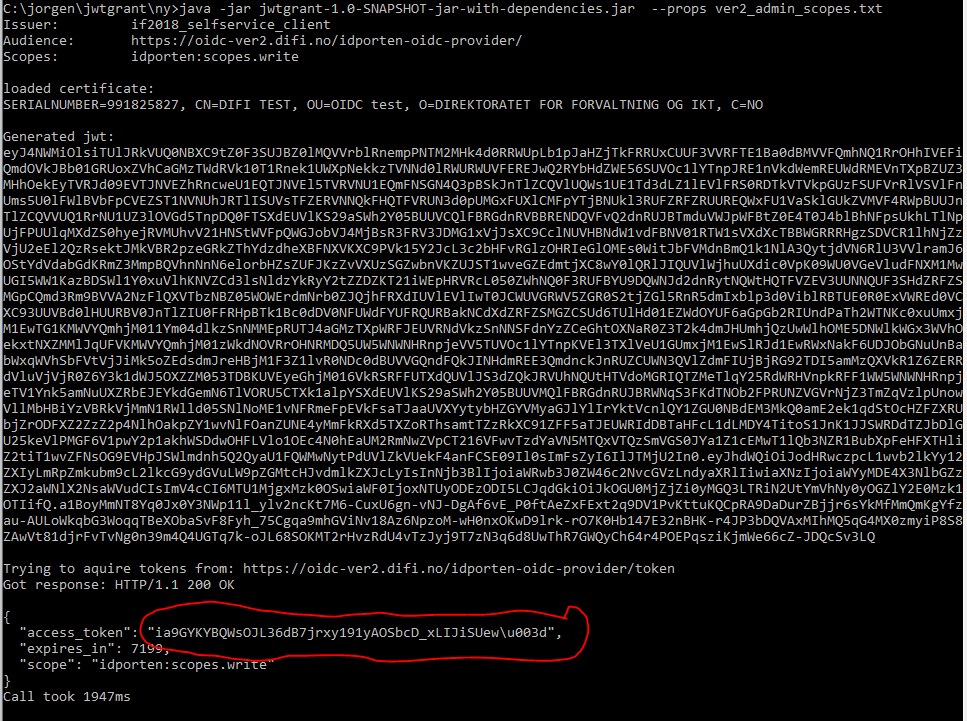
(note that on this platform, the padding character is escaped.)
If the call fails, Maskinporten will in most cases return an explanatory error message.
More obscure errors are typical coming from using the wrong certificate, or trying to use the public key instead of the private key for signing the JWT (keystore.alias pointing to wrong alias)
3. Configure Postman
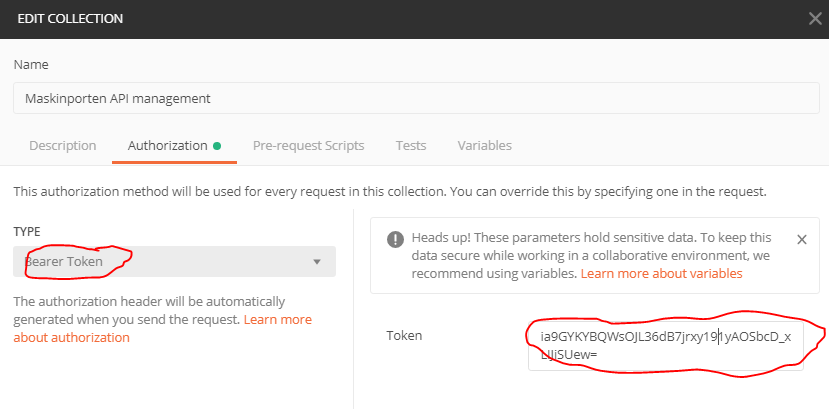
Open Postman and create a new Collection. Set the Authorization type to Bearer token and paste in the access token returned by the generator (note that you might need to replace \u00d3 with the equal sign = on some platforms):
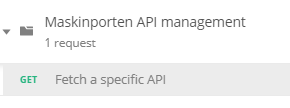
Under the new Collection, create a new Request:
Make sure the request inherits the authenication settings from the parent Collection:
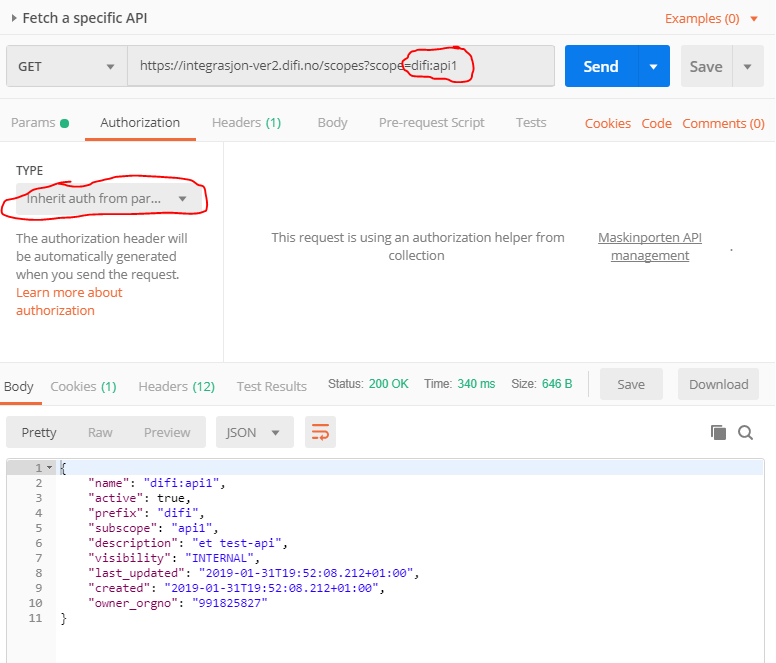
You shall now be able to use the API.